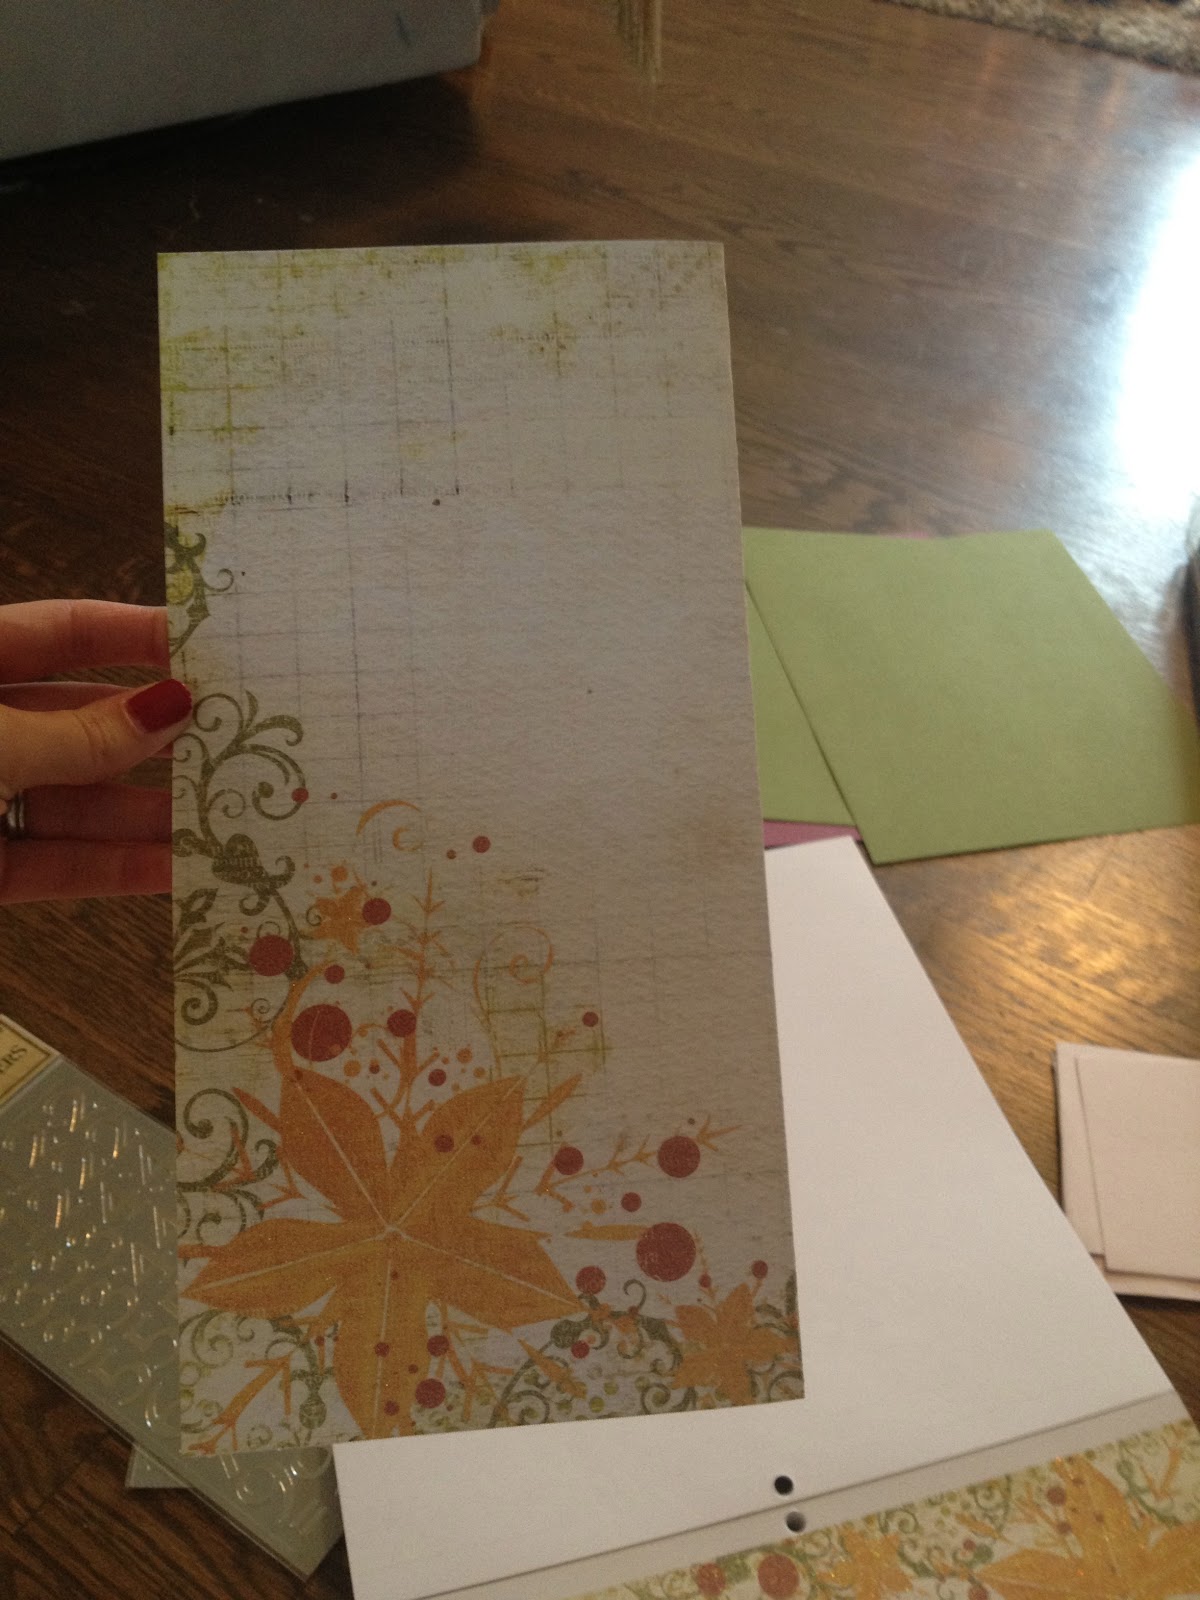
I just finished Bray's Advent cards and I love how they turned out!
My original inspiration came from this Advent calendar (
here), but I forgot to purchase poster board so I made individual packets that I could lay in an aluminum bucket.
Here's what I did:
First, I set the mood with a nice caramel brûlée courtesy of my sister, zucchini bread (recipe
here- I added 1.5 heaping spoonfuls of greek yogurt..excellent decision), and the Sandra McCracken pandora station. Twas perfect.
Second, I laid out all of my supplies, most of which came from my Black Friday JoAnn's purchase.
Not pictured is my circle punch. It was in Avery's room while she was napping. Nothing in the world could've made me go into that room.
FYI- I didn't use the brown bags or the paper edgers.
I took one of the sheets from the card stock book, folded it like a hotdog, then cut along the crease.
Glad to see my second grade education is paying off.
I folded my cut pieces like a hamburger.
I then took good ole' elmers and made a line along the inside bottom and inside right side.
I did each packet so the crease was on the left and the glued side was on the right.
Avery woke up so I moved everything to the table. By this time, I had glued all of the packets and cut my insert pieces.
I used my circle punch to make circles, then I took my numbered stickers and numbered the packets 1-24. After that, I wrote an activity on each insert and decorated the top with a sticker. Fancy.
Here's the list of activities I included.
Tip: I got my real calendar out and planned activities accordingly. For example, on the evenings we have holiday parties or the days I work, I wrote an easy activity like watch a Christmas movie or color a Christmas picture.
1. Build a paper gingerbread house (I have a kit from Paper source. Thank you Jenn!)
2. Decorate a felt snowman (JoAnn's dollar section)
3. Hang our christmas window clings (JoAnn's dollar section)
4.
Make chocolate cookies
5.
Make glittery play-dough- looks like snow
6.
Make the house smell like Christmas
7. Color a christmas picture
8.
Decorate a felt christmas tree
9.
Make paper snowflakes
10.
Make homemade hot chocolate
11. Watch a christmas movie
12.
Make a christmas light picture
13. Make our Christmas presents for our Nana's and Papa's
14. Make chocolate covered pretzels
15.
Make necklaces for cousins
16. Drive to see christmas lights
17. Build a fort
18. Make a snowman (paper and cotton balls)
19. Make christmas brownies (with christmas M&M's)
20.
Make a reindeer
21. Color pictures for the Nana's
22. Make christmas rice crispy treats (red food coloring)
23. Make christmas pancakes for dinner (red food coloring and sprinkles)
24. Watch a Christmas movie by the Christmas tree
Finished product!!
And because Advent is about celebrating the coming of our Redeemer, we plan to conclude each day with a story from the Jesus Story Book Bible, using this Advent reading schedule (
here).
There you have it! My little project is simple and was something I could accomplish during nap time-very important for this phase of life. As for Bob and I, we look forward to our Advent church services and the resources our church provides throughout Advent.
Happy Advent-ing!